Creating captivating timelapses is an art that requires more than just setting up your GoPro and pressing record. To achieve truly stunning results, you need to invest time in timelapse planning, which includes scouting locations, predicting the best moments, and understanding the technical aspects of your shoot. This guide will walk you through the essential steps to ensure your GoPro timelapses stand out, whether you're capturing the serene beauty of nature or the vibrant energy of urban life.
Scouting Locations: Finding the Perfect Backdrop
The location you choose for your timelapse plays a pivotal role in its overall impact. A well-chosen backdrop can elevate your footage, while a poorly selected one can leave it feeling flat. Here’s how to find the perfect setting:
1. Research and Exploration
Start your timelapse planning by researching potential locations online. Tools like Google Maps, Instagram, and photography forums can provide inspiration and help you identify spots with interesting landscapes, dynamic elements, or unique architectural features. Once you’ve narrowed down your options, visit the locations in person to assess their suitability. This hands-on approach allows you to evaluate the scene’s potential and identify any challenges you might face during the shoot.
2. Consider the Subject
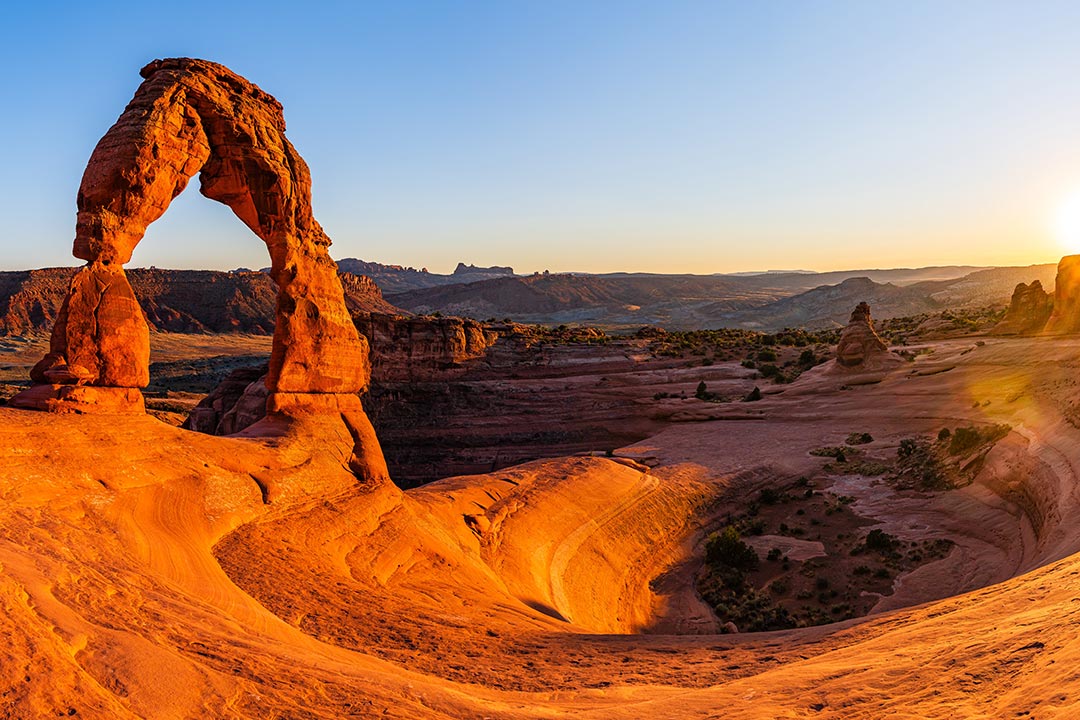
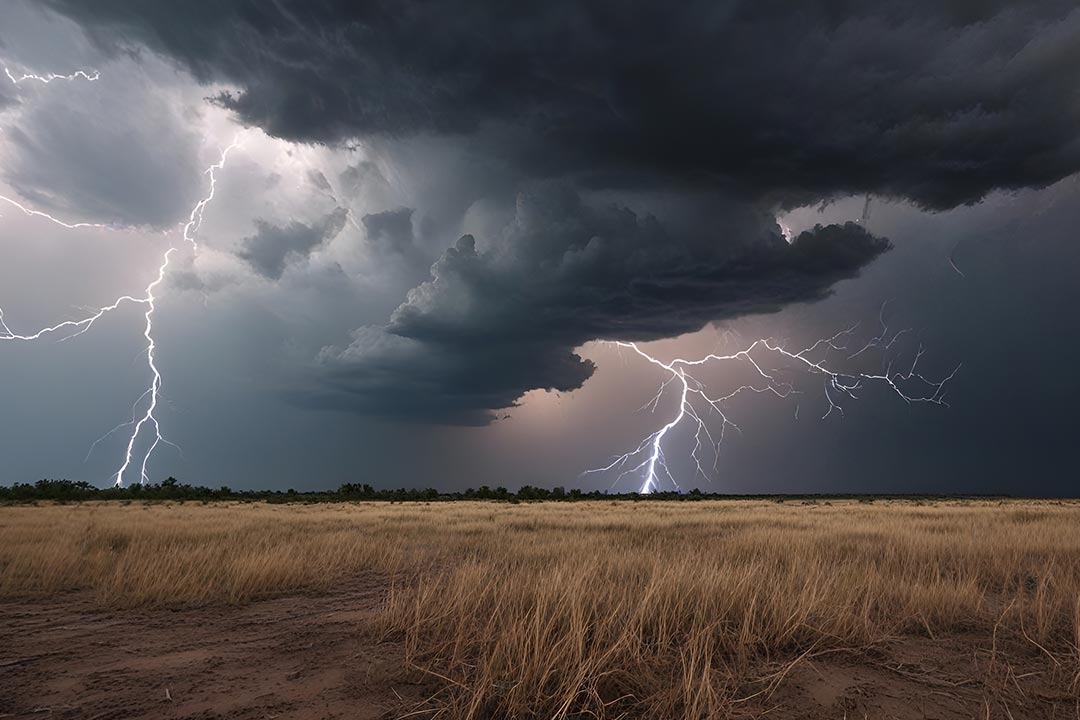
Think about the story you want your timelapse to tell. Are you capturing the tranquility of a sunrise over a mountain range, the hustle and bustle of a cityscape, or the dramatic movement of clouds? Choose a location that complements your subject and enhances its visual appeal. For instance, a coastal cliff might be ideal for a sunset timelapse, while a busy intersection could be perfect for showcasing urban energy.
3. Check for Obstructions
An unobstructed view is critical for a successful timelapse. Look for potential obstacles like trees, buildings, or power lines that could interfere with your shot. If you’re shooting in an urban environment, consider how moving objects like vehicles or pedestrians might affect your composition. This step is often overlooked but is essential for ensuring a clean and professional result.
4. Assess Lighting Conditions
Lighting can make or break your timelapse. Visit your chosen location at different times of day to observe how the light interacts with the landscape. Pay attention to the direction and quality of light during sunrise, sunset, and midday. Soft, diffused light during the golden hour can add a magical quality to your footage, while harsh midday light might create unflattering shadows.
5. Safety and Accessibility
Safety should always be a priority when scouting locations. Ensure the area is accessible and safe for setting up your equipment. Check for potential hazards like uneven terrain, strong winds, or restricted access. Additionally, consider how long you’ll need to stay at the location and whether it’s feasible to do so comfortably.
Predicting the Best Moments: Timing is Everything

Timing is everything in timelapse photography. Capturing the right moment can transform an ordinary scene into something extraordinary. Here’s how to predict the best moments for your shoot:
1. Weather Forecasting
Use weather apps and websites to monitor cloud movement, wind patterns, and other conditions that could affect your shoot. Tools that provide detailed cloud cover forecasts are particularly useful for planning sky-centric timelapses. Understanding the weather will help you choose the optimal time to capture dramatic skies or serene landscapes.
2. Astronomical Events
Plan your timelapses around celestial events like meteor showers, lunar eclipses, or the appearance of the Milky Way. Apps like Stellarium or PhotoPills can help you track these events and determine the best times and locations for shooting. Capturing these rare moments can add a unique and awe-inspiring element to your footage.
3. Traffic Patterns
If you’re shooting in an urban environment, research traffic patterns to determine the busiest times of day. Capturing the ebb and flow of traffic can add a dynamic element to your timelapse. Visit the location beforehand to observe traffic flow and identify the best vantage points.
4. Seasonal Changes
Seasonal changes can dramatically alter the look and feel of a location. Plan your timelapses around seasonal highlights like autumn foliage, winter snowscapes, or spring blooms. These natural transformations can add depth and visual interest to your footage.
5. Golden Hour and Blue Hour
The golden hour (shortly after sunrise and before sunset) and the blue hour (just after sunset and before sunrise) offer soft, diffused lighting that is ideal for timelapses. These periods create a warm, ethereal glow that can enhance the mood of your footage. Plan your shoots around these times for the most visually appealing results.
Tips for Successful Timelapse Planning

Here are some additional tips to ensure your timelapse planning is as effective as possible:
- Create a Shot List: Outline the shots you want to capture in advance. This will help you stay organized and ensure you don’t miss any key moments.
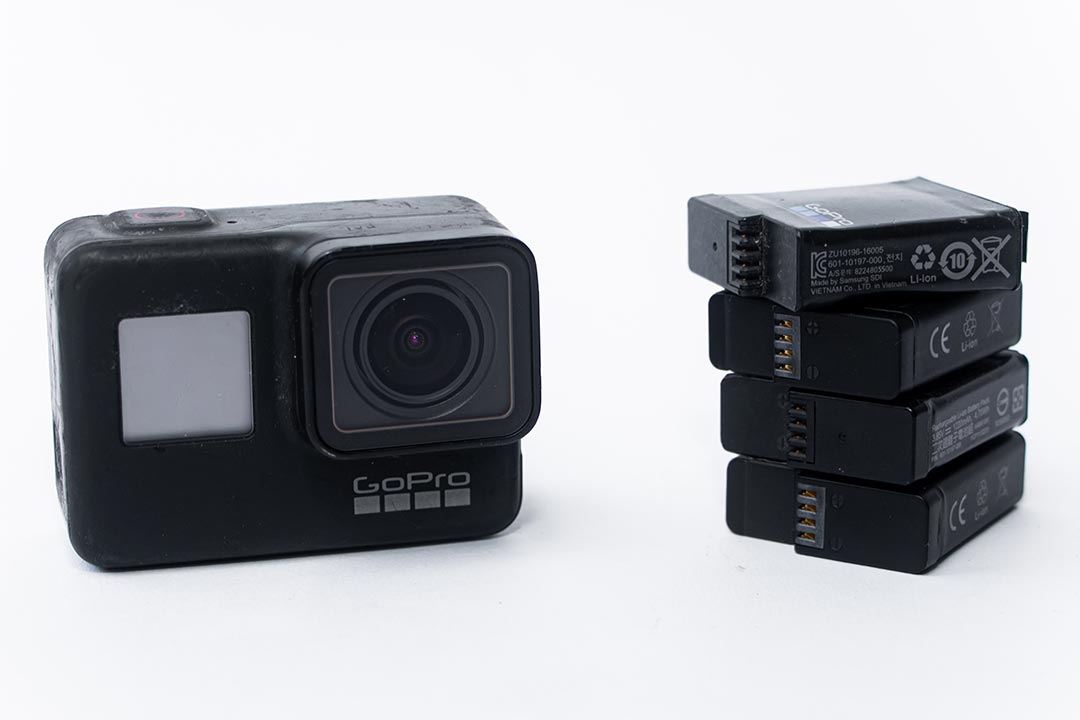
- Check Equipment: Inspect your GoPro, tripod, and other gear to ensure everything is in working order. A sturdy tripod is essential for keeping your shots steady.
- Bring Extra Batteries and Storage: Long timelapses can drain your battery and fill up your SD card quickly. Pack extras to avoid interruptions.
- Arrive Early: Give yourself plenty of time to set up and scout the location. This will also allow you to adjust your composition if needed.
- Be Patient: Timelapses require time and patience. Allow yourself to wait for the perfect moment and enjoy the process of creating something unique.
By following these tips and techniques, you can elevate your GoPro timelapses from ordinary to extraordinary. Remember, the key to success lies in thorough planning, creativity, and adaptability. So grab your gear, head out into the world, and start capturing the beauty of time in motion!
The Importance of Post-Processing

While planning and shooting are critical components of timelapse photography, post-processing is where your footage truly comes to life. Editing software like Adobe Premiere Pro, Final Cut Pro, or LRTimelapse allows you to fine-tune your clips, adjust colors, and smooth out transitions. Here are a few post-processing tips to enhance your timelapses:
- Stabilize Footage: Use stabilization tools to eliminate any unwanted camera shake or vibrations.
- Adjust Exposure: Ensure consistent exposure across all frames to avoid flickering.
- Color Grading: Enhance the mood of your timelapse by adjusting colors and contrast.
- Add Music: Pair your footage with a fitting soundtrack to evoke emotion and create a more immersive experience.
By combining meticulous planning, thoughtful shooting, and skilled post-processing, you can create timelapses that captivate your audience and leave a lasting impression.
