Creating professional-quality drawing time-lapses involves more than simply pressing record. To truly capture the magic of your creative process, you need to master four critical elements: camera angles, lighting, stability, and framing. This comprehensive guide will walk you through each component, helping you transform ordinary documentation into captivating visual stories of your artwork coming to life.
Selecting the Perfect Camera Angle
Your chosen perspective dramatically affects how viewers experience your creative process. The ideal angle provides clear visibility of both your hand movements and the artwork's progression. Consider these three effective approaches:
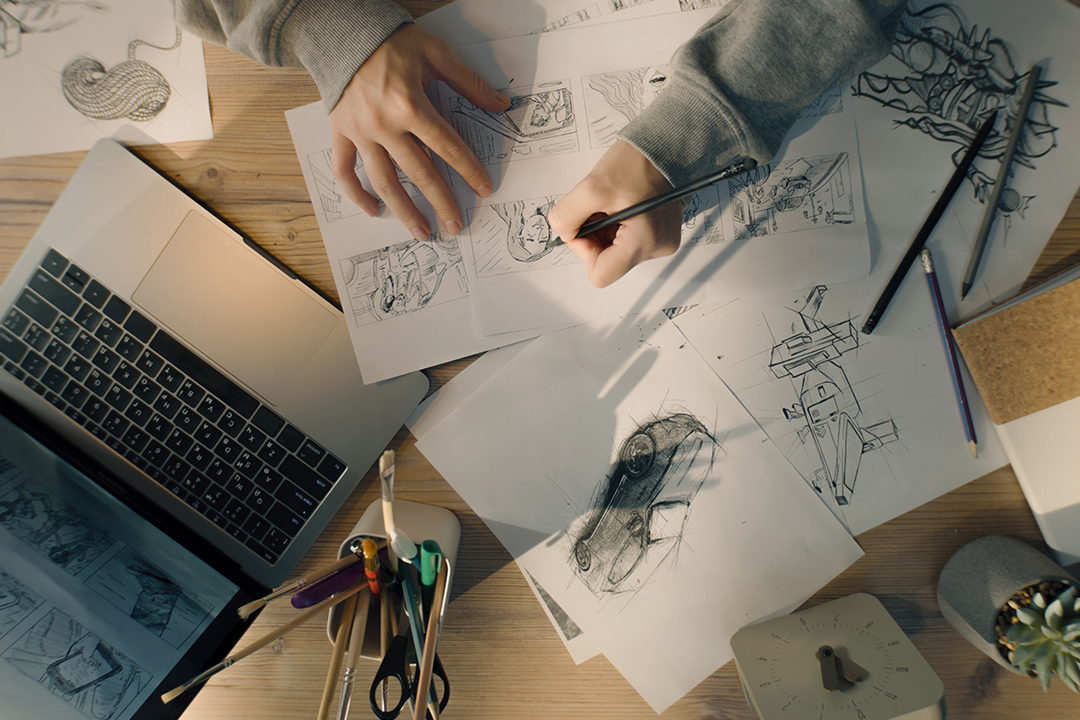
1. The Classic Overhead Shot
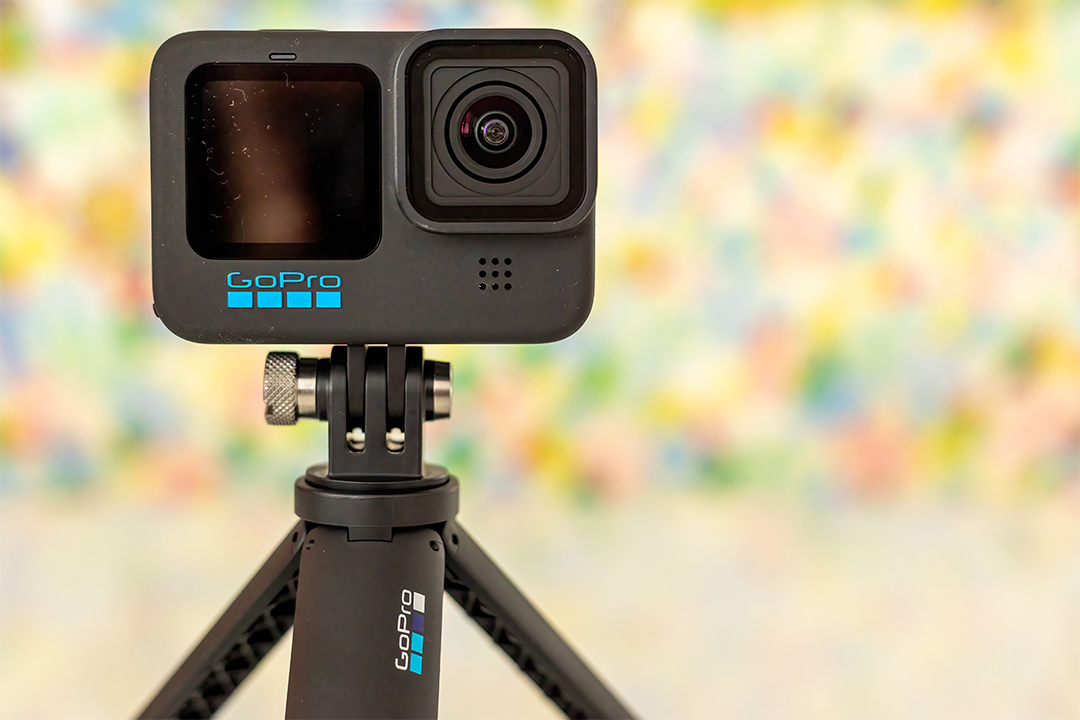
Position your GoPro directly above your workspace for the most comprehensive view. This angle mimics how viewers naturally observe artwork and provides unobstructed visibility of your entire creative process.
| Advantages: | Clear view of the entire drawing, natural perspective, easy to follow the artistic process. |
| Challenges: | Requires a reliable overhead mounting solution, can sometimes show your head or shadow if not positioned carefully. |
| Pro Tip: | Use a strong arm mount, tripod with a boom arm, or a DIY rig to position the GoPro directly above. Ensure the camera lens is parallel to your drawing surface to avoid distortion. |
2. The Dynamic Side Angle
Place your camera to the side of your drawing hand for a unique perspective that emphasizes technique and medium interaction.
| Advantages: | Highlights hand movements and drawing techniques, can show the interaction between your hand and the medium. |
| Challenges: | May not capture the entire drawing at once, can be more challenging to keep your hand and the artwork consistently in frame. |
| Pro Tip: | Use a clamp mount or a small tripod positioned securely to the side. Consider using a wider field of view (FOV) setting on your GoPro to capture more of the scene. |
3. The Hybrid Angled Overhead
Combine the best of both worlds by positioning the camera slightly above and to the side of your workspace.
| Advantages: | Offers a dynamic view, captures both the artwork and some hand movement detail. |
| Challenges: | Requires careful positioning to avoid obstructions and ensure the entire drawing remains visible. |
| Pro Tip: | Experiment with different angles and heights to find the sweet spot that best showcases your style and workspace. |
Perfecting Your Lighting Setup

Consistent, high-quality lighting is essential for professional results. Poor lighting can create distracting flickers and uneven illumination in your final video.
Natural Light Solutions
While beautiful, sunlight requires careful management to avoid inconsistencies.
- Best practices: Use north-facing windows, film during overcast days, avoid direct sunlight
- Watch for: Changing light conditions throughout the day
Artificial Lighting Techniques
Controlled lighting setups provide reliable, flicker-free illumination.
- Recommended equipment: LED panels, softbox lights
- Setup tips: Position lights to minimize shadows, keep lights out of frame
Avoiding Flicker Issues
Certain artificial lights can cause problematic flickering in time-lapses. Stick with continuous LED lighting or natural light sources, and consider deflickering software if needed.
Ensuring Rock-Solid Stability
Camera movement ruins time-lapse footage. Implement these stability solutions:
Tripod Essentials
Invest in a sturdy tripod with boom arm capability for overhead shots. Always double-check that all legs and locks are secure before recording.
Specialized Mounting Options
Clamp mounts, suction cups, and specialized rigs can provide stability in various setups. Always use safety tethers for overhead configurations.
Vibration Prevention
Place your setup on stable surfaces away from foot traffic or other vibration sources. Consider using vibration-absorbing pads if needed.
Mastering Composition and Framing
Thoughtful framing elevates your time-lapse from documentation to artistry.
Artwork Focus
Ensure your entire drawing surface remains visible throughout the process. Adjust camera position or field of view settings as needed for larger works.
Contextual Elements
Decide how much of your hands and tools to include. These elements add dynamism but shouldn't distract from the main artwork.
Clean Backgrounds
Maintain a simple, uncluttered backdrop to keep focus on your artwork. Neutral-colored surfaces work best.
Field of View Settings
Experiment with your GoPro's FOV options:
| Wide | Captures more of the scene |
| Linear | Reduces distortion (ideal for precise work) |
| Narrow | Creates a tighter, more focused shot |
Pre-Recording Checklist
Before starting your time-lapse:
✓ Verify camera stability
✓ Check lighting consistency
✓ Ensure full battery charge
✓ Confirm sufficient storage space
✓ Double-check camera settings (resolution, interval)
By carefully implementing these techniques, you'll create stunning, professional-quality drawing time-lapses that beautifully document your creative journey from blank page to finished artwork.