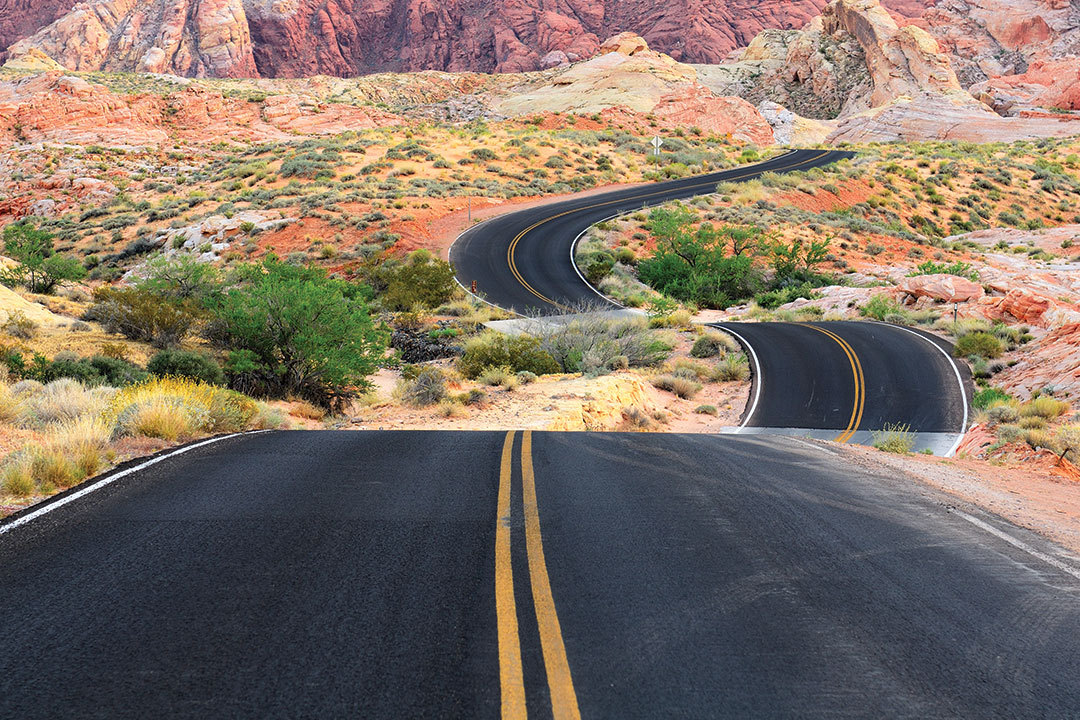
Recording a dashcam timelapse is one of the most rewarding ways to document a road trip, transforming long drives into mesmerizing, fast-paced visual journeys. Unlike highways, which often lack character, state and back roads offer winding paths, dramatic landscapes, and hidden gems perfect for timelapse footage. Whether you're a seasoned creator or just starting, these dashcam timelapse tips will help you capture stunning footage every time.
Why State and Scenic Roads Are Perfect for Dashcam Timelapses
Highways are efficient for travel but rarely provide the visual diversity needed for an engaging timelapse video. Instead, opt for state routes, country roads, and scenic byways where the terrain changes frequently. These roads often feature:
- Rolling hills and mountain passes – Elevation changes add depth to your footage.
- Forests and open plains – Varied landscapes keep the visuals dynamic.
- Small towns and historic routes – Unique architecture and roadside attractions break monotony.
- Minimal traffic – Fewer cars mean smoother, uninterrupted recordings.
Planning the Perfect Dashcam Timelapse Route
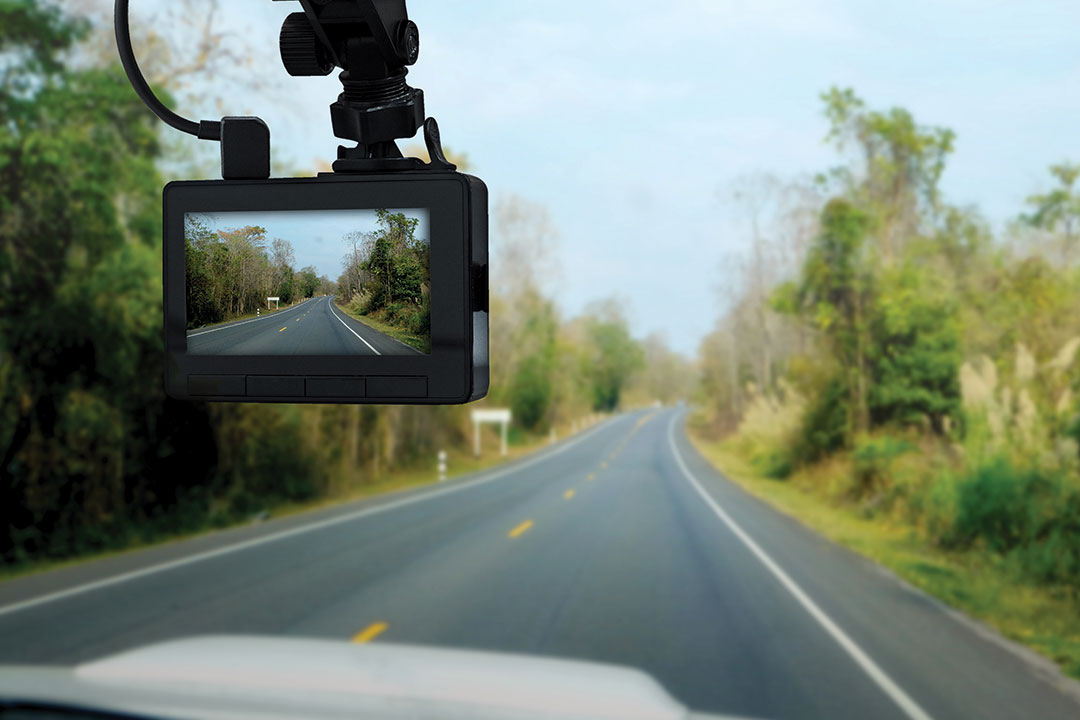
Great dashcam timelapse footage starts with strategic route planning. Here’s how to find the best paths:
1. Use Scenic Byway Directories
Websites like FHWA’s National Scenic Byways list officially designated scenic routes across the U.S. These roads are chosen for their natural beauty and cultural significance, making them ideal for timelapse recording.
2. Avoid Highways When Possible
Interstates are designed for speed, not scenery. Instead, look for state routes (e.g., Route 66, Pacific Coast Highway) that meander through picturesque areas. Tools like Google Maps’ "Avoid Highways" feature can help plot a more visually engaging course.
3. Research Golden Hours and Weather
Lighting dramatically impacts your footage. Schedule drives during golden hour (sunrise/sunset) for warm, soft lighting. Overcast days reduce harsh shadows, while fog or light rain can add moody atmosphere.
Optimizing Your Dashcam Settings for Timelapses
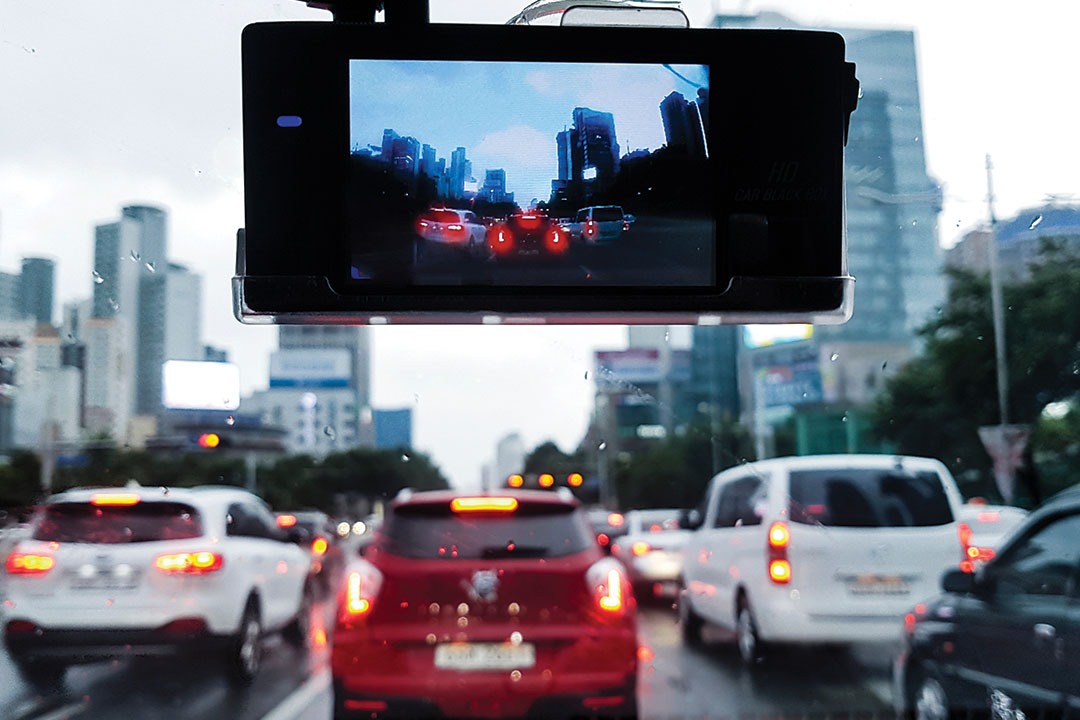
Even the best route won’t shine if your settings are off. Follow these dashcam timelapse best practices:
- Frame rate – Use 1 frame every 2-5 seconds for smooth motion.
- Resolution – Record in at least 1080p (4K if your camera supports it).
- Exposure lock – Prevent flickering by locking exposure manually.
- Stabilization – Ensure your dashcam is securely mounted to minimize vibrations.
Creative Techniques for Dynamic Dashcam Timelapses
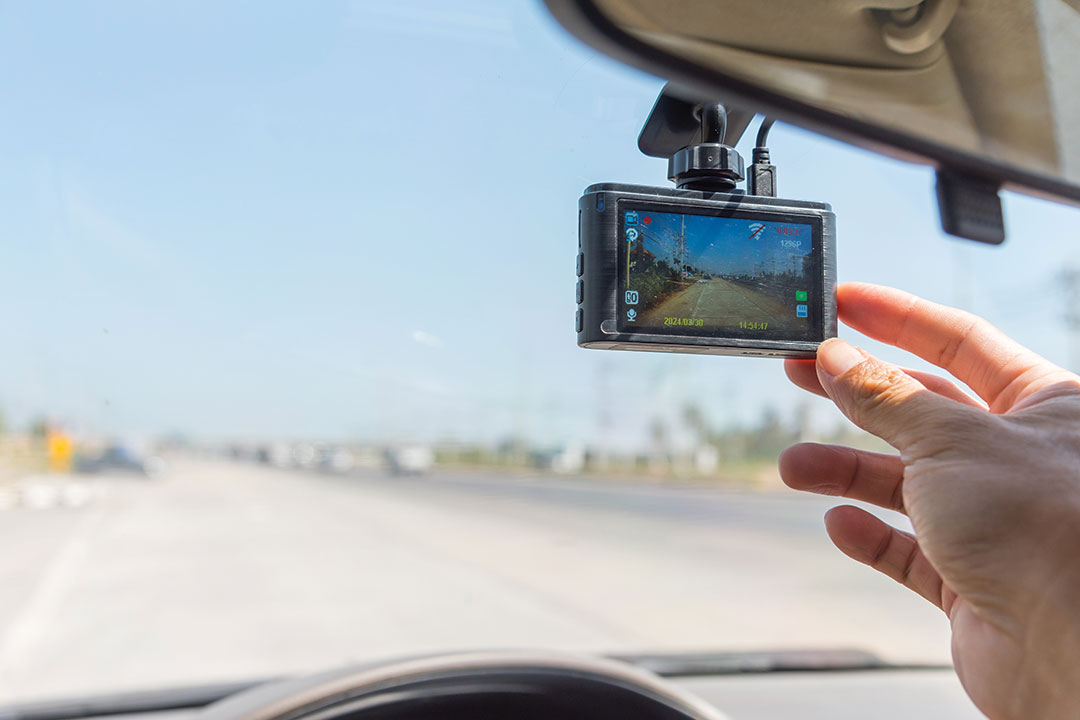
Beyond basic recording, these tricks will elevate your footage:
1. Speed Variations
Adjust playback speed in post-production. Faster speeds (15-30x) work for long trips, while slower speeds (5-10x) highlight details in curvy or scenic sections.
2. Day-to-Night Transitions
Plan a route that transitions from daylight to dusk for a cinematic effect. Use a dashcam with good low-light performance to avoid grainy footage.
3. Incorporate Landmarks
Sync your timelapse with recognizable landmarks (e.g., mountain ranges, bridges) to give viewers geographic context.
Post-Production Tips for Polished Timelapse Videos
Editing transforms raw clips into professional dashcam timelapse videos. Key steps include:
- Stabilization – Use software like Adobe Premiere or DaVinci Resolve to smooth minor shakes.
- Color grading – Enhance contrast and saturation to make landscapes pop.
- Music and pacing – Pair footage with ambient music and adjust clip lengths for rhythm.
Final Thoughts: The Joy of the Journey
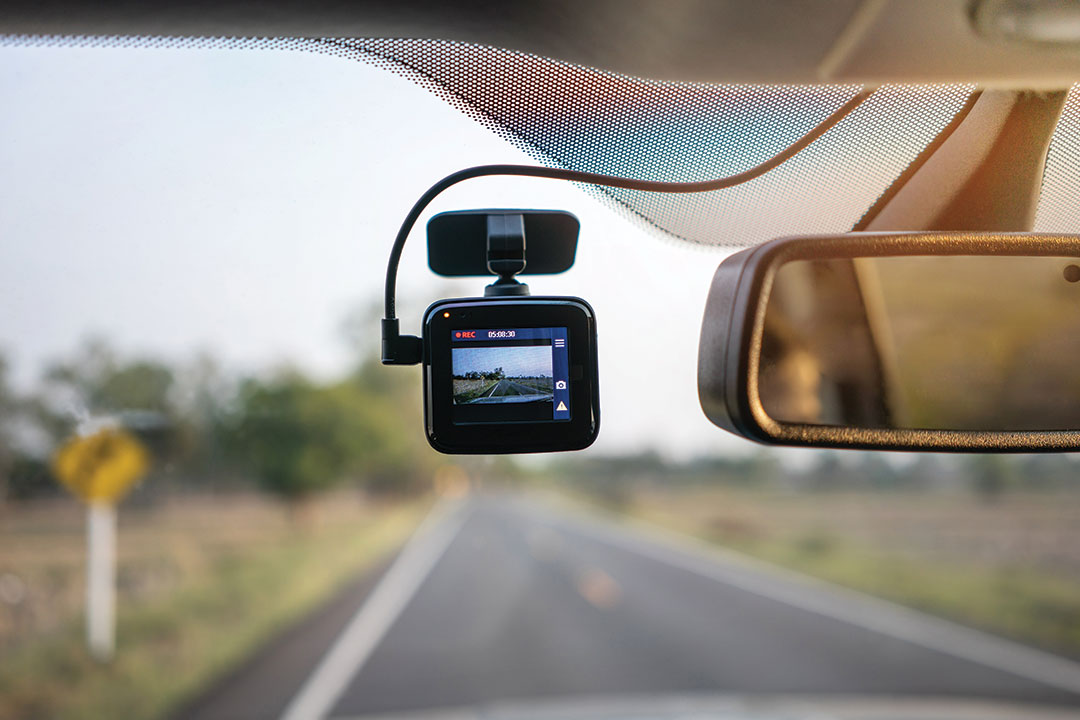
The best dashcam timelapses come from embracing the adventure. Venture beyond highways, experiment with routes, and let the scenery guide your creativity. With these tips, you’ll not only document your trips but also create art that captivates audiences.
