Creating a stunning timelapse doesn't end with capturing the footage; the timelapse editing workflow is where the magic truly happens. This article will guide you through the essential steps, from selecting the right software to mastering post-processing techniques, ensuring your timelapses are polished and professional. Let’s dive into a comprehensive timelapse editing guide.
Choosing Your Editing Software
The first step in your timelapse editing workflow is selecting the right software. Several options cater to different skill levels and budgets:
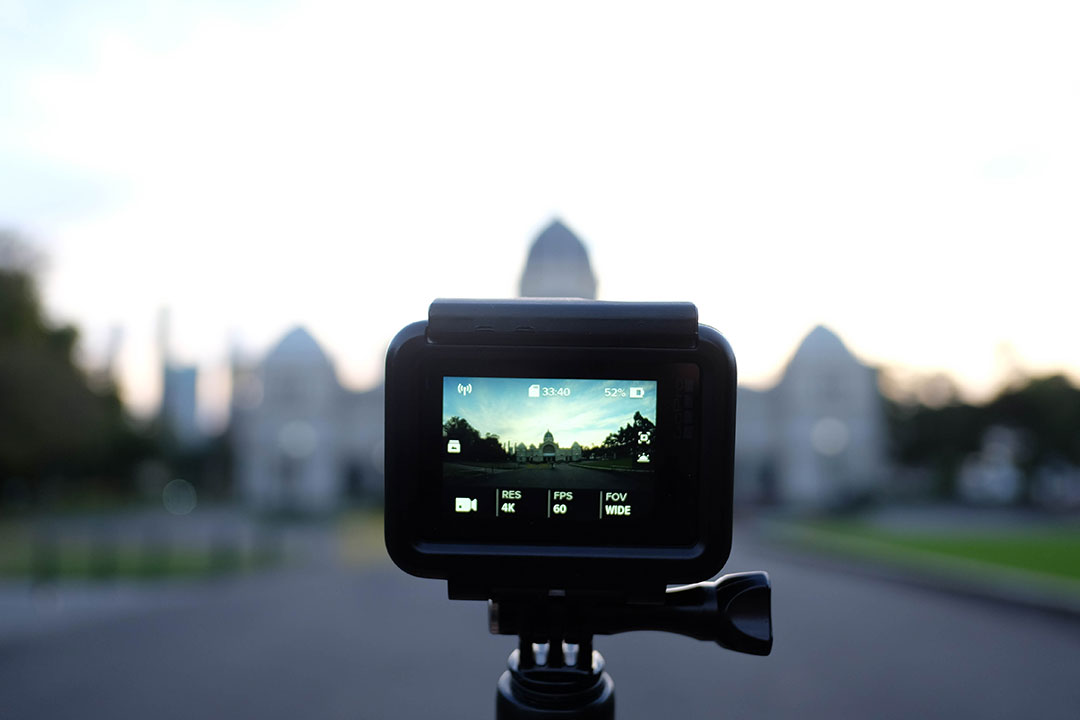
1. GoPro Quik: Beginner-Friendly Option
For beginners, GoPro Quik is an excellent starting point. It's free, user-friendly, and offers basic editing tools specifically designed for GoPro footage. You can quickly trim clips, adjust speed, and add music. It simplifies the initial timelapse editing steps.
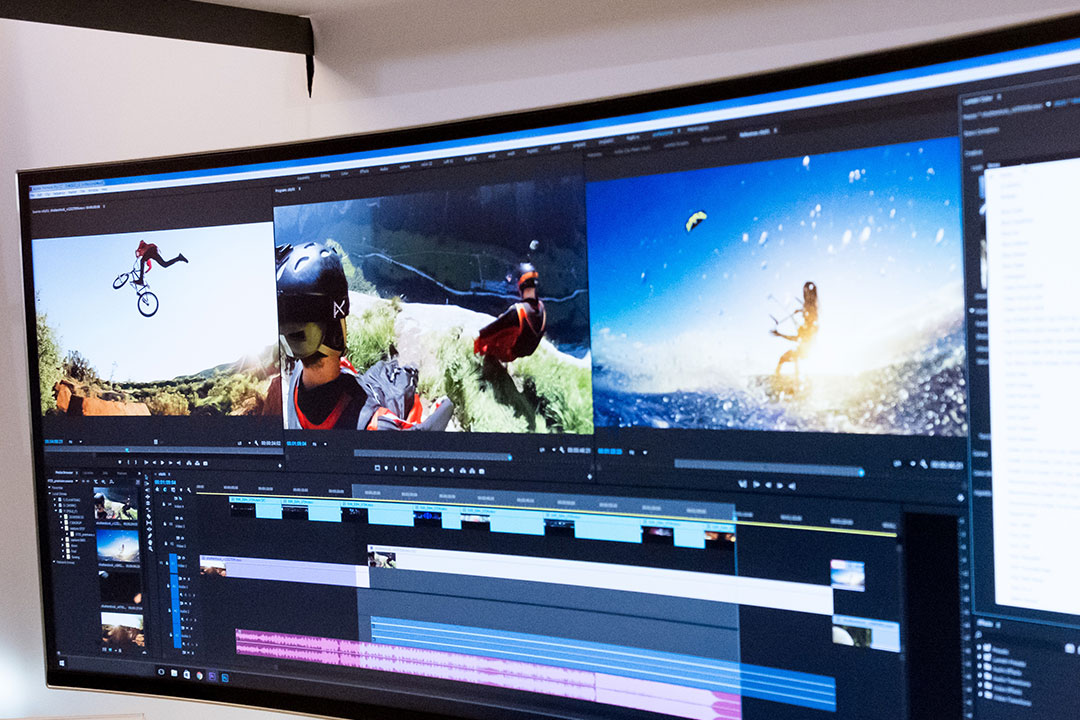
2. Adobe Premiere Pro: Professional Power
For more advanced editing, Adobe Premiere Pro offers a comprehensive suite of tools. It provides precise control over color correction, stabilization, and advanced effects. This is a very popular choice for professional timelapse editing.
3. LRTimelapse: Specialized for Timelapses
LRTimelapse is specifically designed for timelapse editing and excels at handling flicker and deflickering, a common issue in timelapses. It integrates seamlessly with Adobe Lightroom, making it a powerful tool for timelapse editing. It is very effective for day-to-night or night-to-day transitions.
4. DaVinci Resolve: Powerful Color Grading
DaVinci Resolve is known for its exceptional color grading capabilities. While it also offers full video editing, its color tools are particularly useful for enhancing the visual appeal of your timelapses. This is a good choice if color is very important to your timelapse editing workflow.
Essential Editing Tips
Once you've chosen your software, follow these tips to improve your timelapse editing:
1. Stabilize Your Footage
Even with a tripod, slight camera shake can occur. Use your editing software's stabilization features to smooth out any unwanted movement. This will greatly improve the visual quality of your timelapses.
2. Adjust Speed and Frame Rate
Experiment with different speeds and frame rates to achieve the desired effect. Slowing down or speeding up your timelapse can dramatically change its feel. This is a key part of the creative timelapse editing process.
3. Color Correction and Grading
Enhance the colors and tones of your timelapse through color correction and grading. Adjust brightness, contrast, saturation, and white balance to create a visually appealing result. This is a crucial element of the timelapse editing workflow.
4. Deflicker Your Timelapse
Flicker can be a significant issue in timelapses, especially those with changing light conditions. Use deflickering tools in software like LRTimelapse or Premiere Pro to eliminate this problem. This will result in a much smoother timelapse.
5. Add Music and Sound Effects
Music and sound effects can add depth and emotion to your timelapse. Choose music that complements the visuals and consider adding subtle sound effects to enhance the viewing experience. This is a finishing touch that can elevate your timelapse editing.
Post-Processing Techniques for Polished Timelapses
To truly polish your timelapses, consider these advanced post-processing techniques:
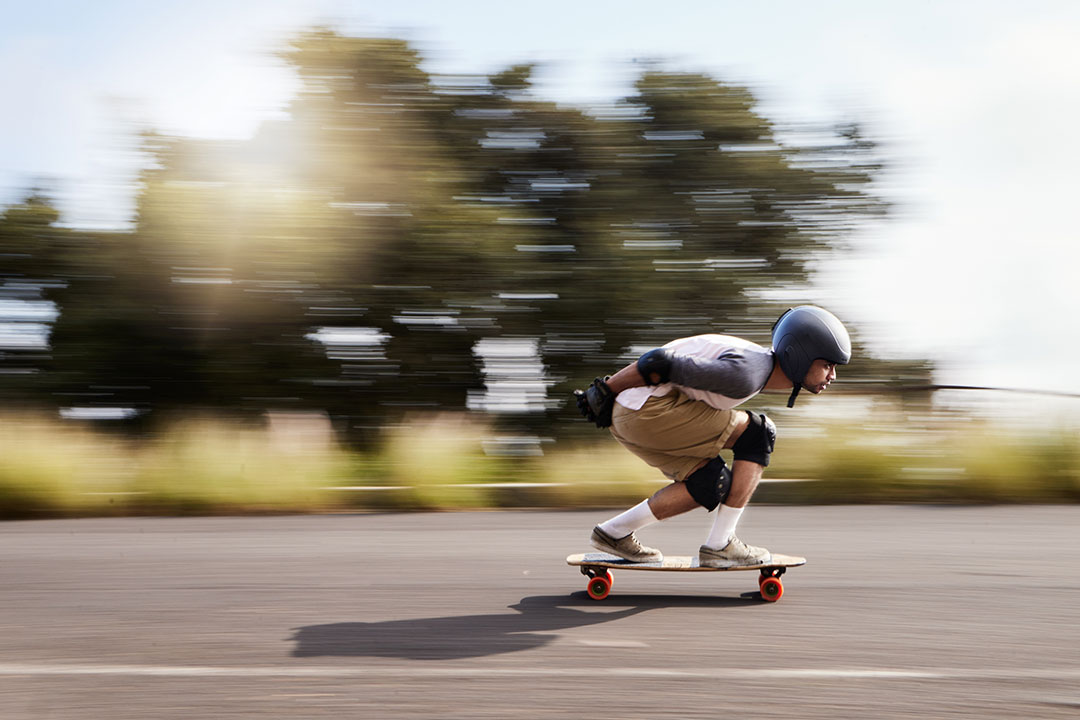
1. Motion Blur
Adding motion blur can create a smoother and more cinematic look. This is especially effective for timelapses with fast-moving subjects. Many video editors have plugins or built in tools to add motion blur.
2. Pan and Zoom Effects
Adding subtle pan and zoom effects can add dynamism to your timelapse. Use keyframes to create smooth and controlled movements. This is a good way to keep the viewer engaged during the timelapse.
3. Time Remapping
Time remapping allows you to vary the speed of your timelapse within a single clip. This can create interesting and dynamic effects. This is a more advanced technique within the timelapse editing workflow, but can have a big impact.
By following these timelapse editing tips and techniques, you can transform your raw footage into stunning, polished timelapses. Remember to experiment and find your own style. Happy editing!