
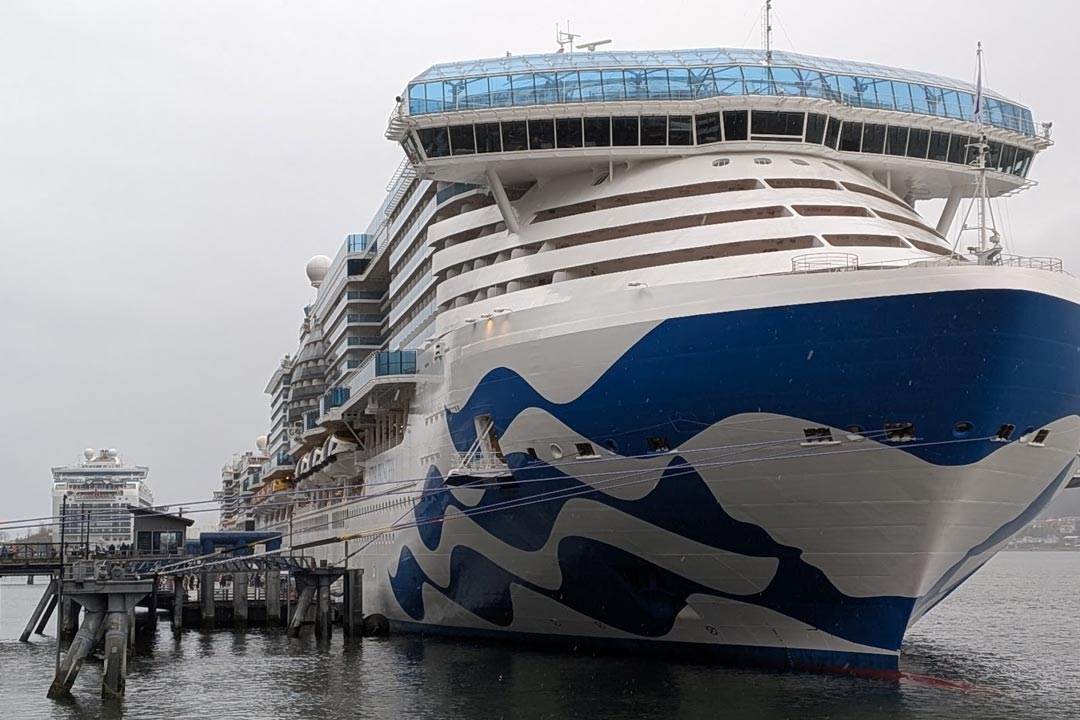
Modern cruise ship balcony designs typically combine metal frames and heavy glass panels, requiring specific mounting strategies.
There is nothing quite like waking up, stepping onto your cruise cabin balcony, and watching massive glaciers, steep fjords, or historic ports drift slowly past your view. If you are traveling through scenic routes like the Inside Passage, capturing that journey with a traditional photo just does not do it justice. You need to capture the motion, the shifting weather, and the scale of the landscape.
Setting up a long-duration cruise balcony timelapse requires some planning. You cannot just stick your camera outside and hope for the best. Between high winds, changing light conditions, and the constant threat of your gear taking an accidental plunge into the ocean, you need a solid strategy. This guide covers how to set up your GoPro to capture a seamless, port-to-port story from your own private deck.
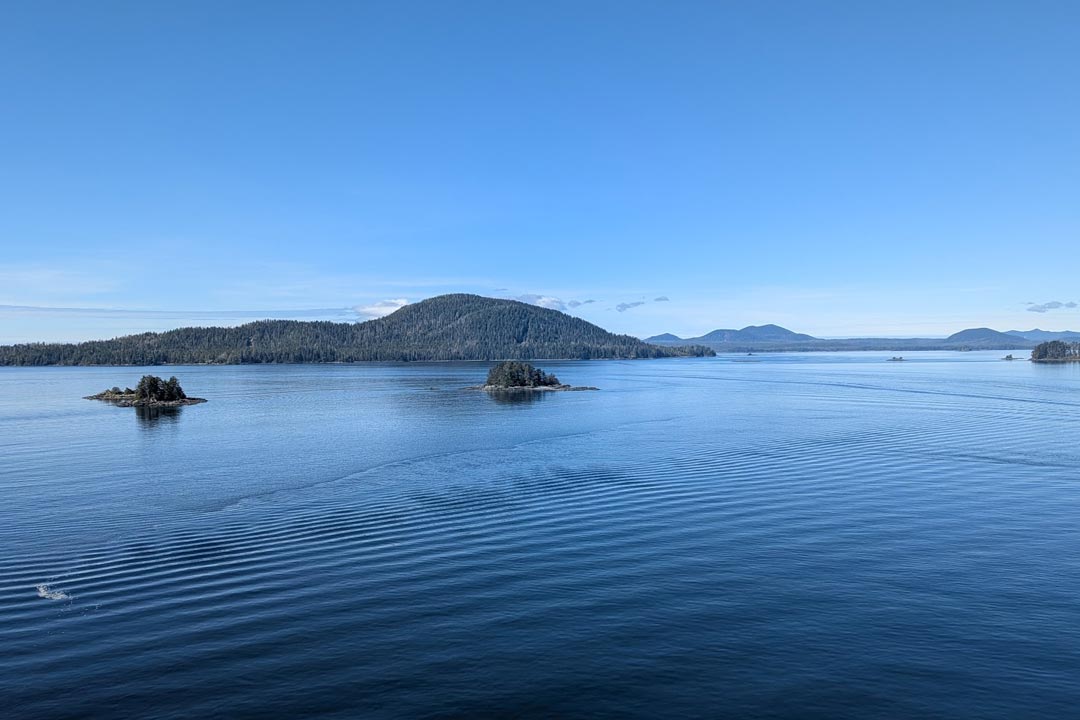
When framing calm island transits, ensure your horizon line is level and your balcony frame is completely out of the shot.
1. Securing Your Rig: Suction Cups vs. Jaw Clamps
The first challenge is finding the right way to attach your camera to the balcony structure. Cruise ship railings are typically made of thick wood, metal pipes, or reinforced glass panels. Your mounting choice depends entirely on what materials your specific cabin features.
• Suction Cup Mounts
If your balcony has heavy glass partitions under the handrail, a industrial-strength suction cup is an excellent choice. It allows you to place the camera low or high on the glass to completely clear the top rail from your frame. Always ensure the glass is completely clean and dry before applying the mount.
• Jaw Clamp Mounts
For traditional wooden or metal pipe railings, a heavy-duty jaw clamp or flex clamp is the superior tool. It bites down tightly on irregular surfaces and will not budge even during high winds at sea.
• The Golden Rule: Use a Safety Tether
No matter how secure your mount feels, never skip a safety tether. Use a high-strength paracord or a steel security lanyard to tie the GoPro housing directly to a secure, permanent fixture on the balcony frame. If the primary mount fails due to vibration or wind, the tether ensures your camera does not end up at the bottom of the Pacific Ocean.
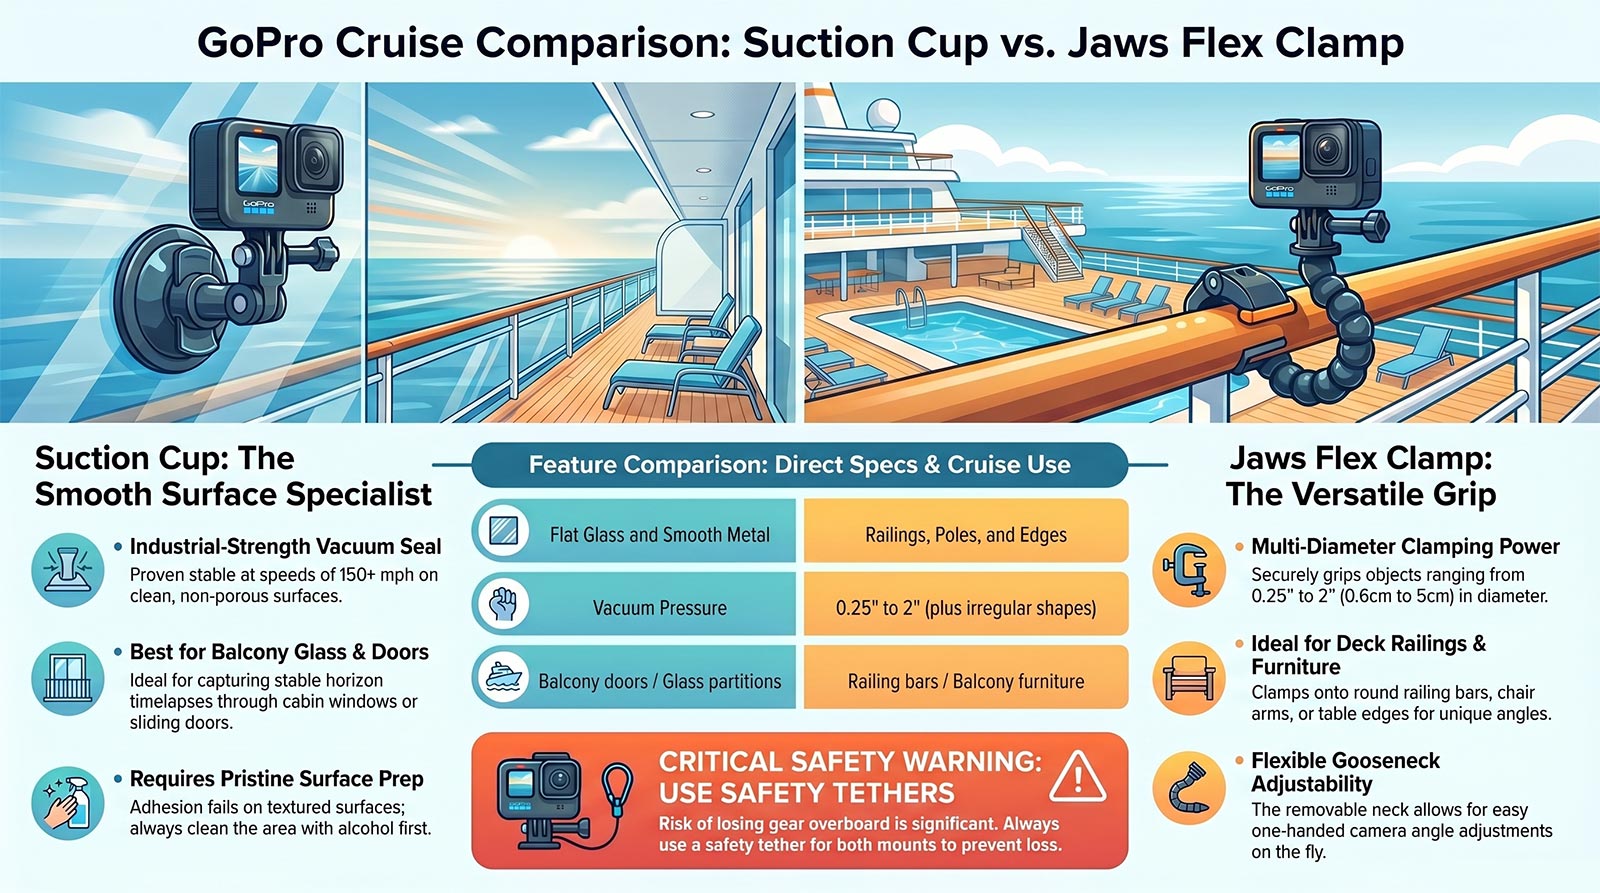
Choosing the right mount depends on your balcony structure. Use a suction cup for smooth glass and a flex clamp for thick wood or metal railings.
2. Managing Power for 8+ Hour Transits
A standard GoPro battery lasts roughly one to two hours depending on your resolution settings. Because an incredible fjord transit or a complete sail-away can easily last eight hours or more, standard internal batteries will not cut it.
• The External Power Solution
To keep your camera running all day, you must rely on external power. You can plug into the outdoor electrical outlets if your balcony has one, but most cabins only feature outlets inside the room. Running a long cable through the balcony door can break the weather seal or pinch the wire.
The best alternative is utilizing a high-capacity portable power bank securely zipped into a weatherproof pouch or taped to the mount setup. A 20,000 mAh power bank can easily keep your camera alive for a full day of shooting.
• Weather-Sealed Pass-Through Doors
To plug a USB cable into your GoPro, you have to open the side door, which exposes the delicate internal components to the elements. Invest in a specialized accessory door that features a rubber gasket seal around the USB port. This keeps mist, rain, and sea spray out of the camera body while maintaining a continuous power connection.
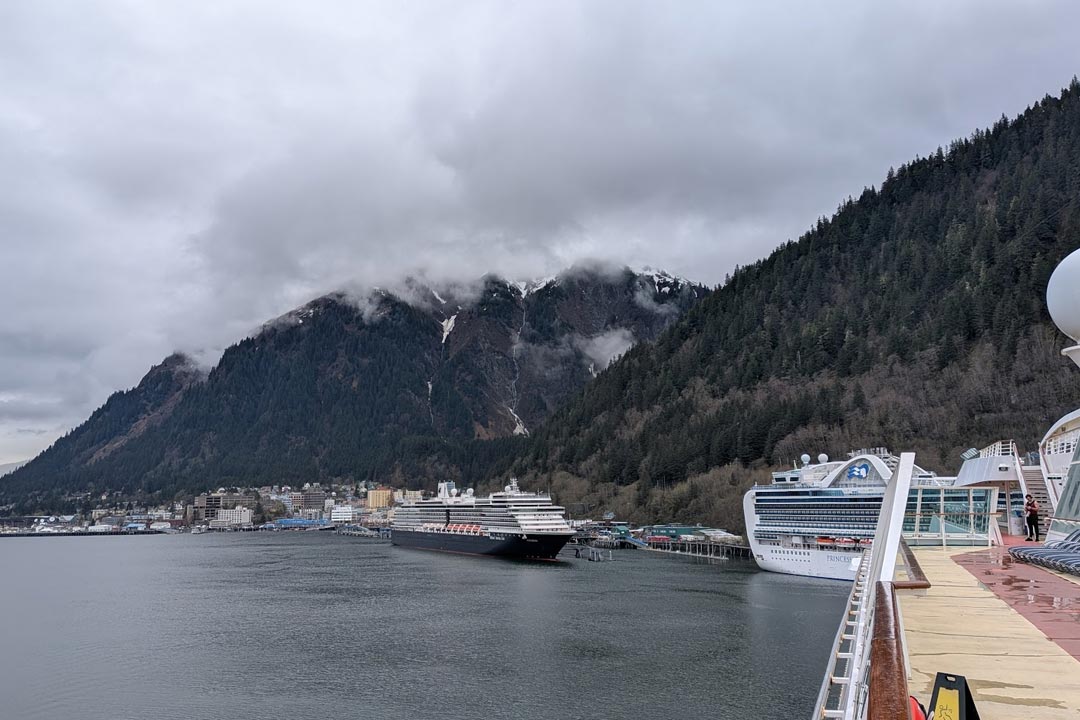
Alaskan ports often feature dramatic low-hanging clouds and sudden mist, making auto white balance crucial for your camera settings.
3. Dialing in Settings for Changing Light
An Alaska cruise timelapse often means dealing with wild shifts in ambient light. You might start shooting in the glaring afternoon sun and finish well after midnight when the Alaskan dusk finally settles over the water. If your settings are locked incorrectly, half of your video will be either completely blown out or entirely dark.
• Interval Timing
Because cruise ships move at a relatively steady, slow pace, setting your interval too fast results in a massive file with very little perceived movement. An interval of 2 seconds or 5 seconds is generally the sweet spot for capturing the motion of the ship alongside moving clouds and distant landscapes.
• Exposure and ISO Management
- Mode: Use Time Lapse Video mode for convenience, or Time Lapse Photo mode if you want maximum control during post-processing.
- Shutter: Set this to Auto so the camera automatically adjusts as the sun goes down.
- ISO Min and Max: Keep your ISO Min at 100 to ensure crisp daylight frames. Cap your ISO Max at 800 or 1600. Allowing the ISO to climb too high in low light introduces massive amounts of digital noise into your sky gradients.
- White Balance: Set this to Auto unless you are confident coaching a specific color profile, as the maritime weather can transition from deep blue to overcast gray within minutes.
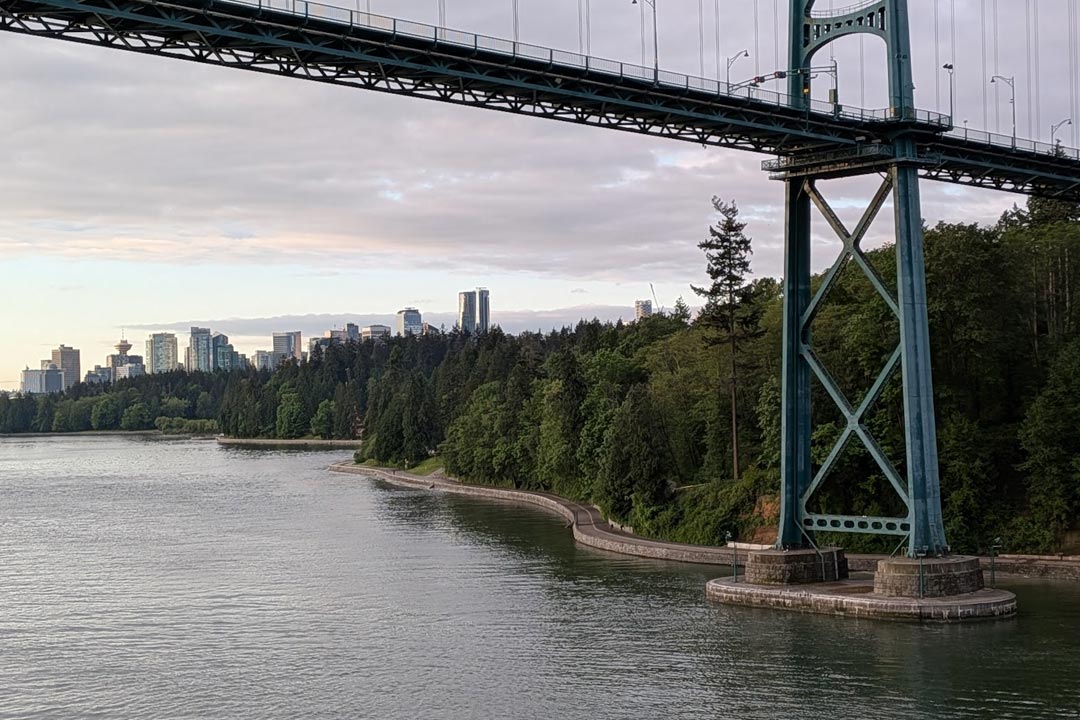
Iconic bridge transits and sail-aways make for some of the most dramatic opening sequences in a port-to-port timelapse video.
Final Checklist Before You Press Record
Before you close your balcony door and let the camera do the work, double check these final items:
- Turn off the camera screen saver and status lights to save power and prevent reflections on the glass.
- Verify that your memory card has enough formatted space for thousands of high-resolution frames.
- Check your frame alignment to make sure the edge of your own balcony wall is not blocking the landscape view.
With your gear securely mounted, a reliable power supply attached, and your exposure settings optimized for the northern skies, you can relax and enjoy the cruise while your camera captures an unforgettable port-to-port journey.
Key Takeaways
- Cruise Intervals: 5-10s for open sea sailing; 2s for port docking and channel navigation.
- Power Setup: 10,000mAh+ external USB battery bank with pass-through battery door; remove internal battery.
- Mounting Safety: Secure clamp or suction mount to interior balcony railing; loop safety lanyard to structural fixture.