Creating stunning timelapses can be incredibly rewarding, but beginners often fall into common traps that can ruin their footage. To help you achieve professional-looking results, let’s dive into five frequent mistakes and how to avoid them.
1. Ignoring Battery and Storage Needs
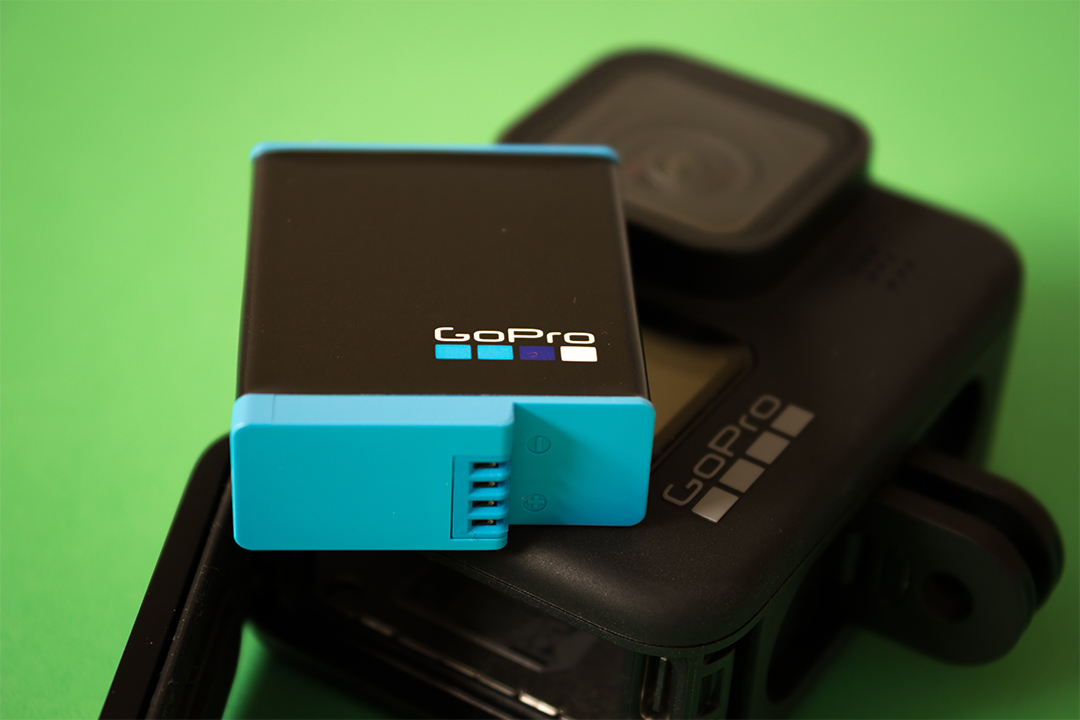
One of the biggest mistakes is underestimating how much battery life and storage space a timelapse requires. Long shoots can drain your battery and fill up your memory card faster than you might expect.
How to Fix It:
- Use External Power: Connect your camera to an external battery pack or power source for extended shoots.
- Invest in a Large SD Card: Use a high-capacity SD card to ensure you don’t run out of space mid-shoot.
- Test Before Shooting: Do a trial run to gauge how much battery and storage your settings will consume.

2. Using an Unstable Camera Setup
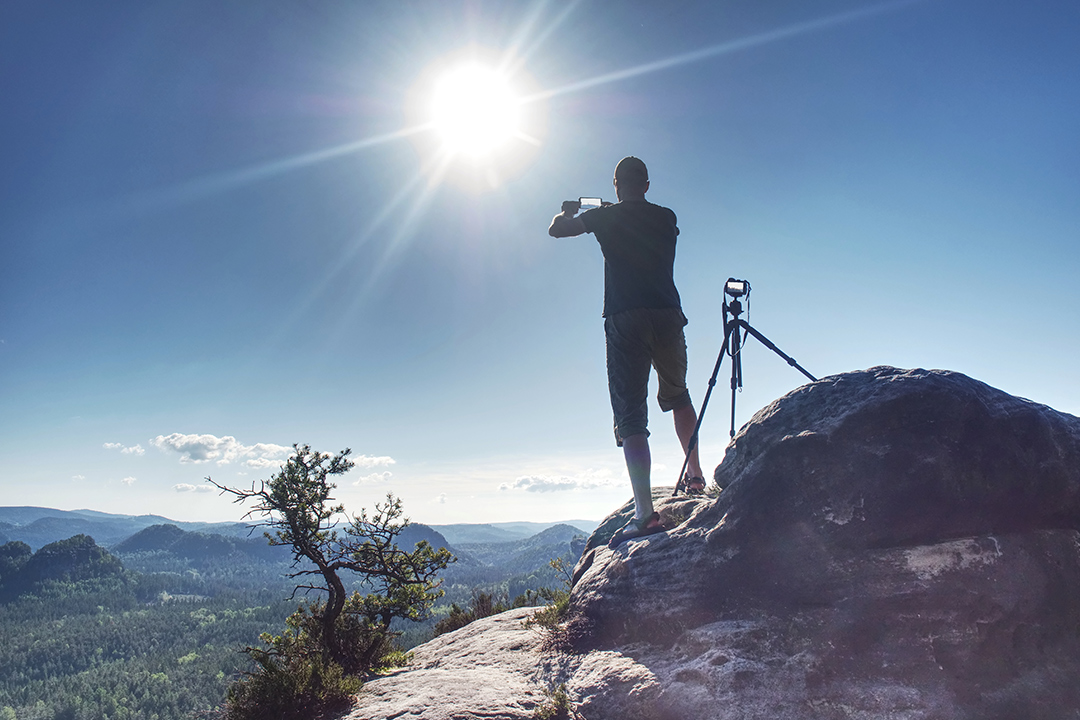
Even the slightest camera movement can ruin a timelapse, resulting in shaky, unprofessional footage.
How to Fix It:
- Use a Sturdy Tripod: Invest in a high-quality tripod that can handle wind and vibrations.
- Secure Your Camera: Double-check that your camera is firmly attached to the tripod or mounting surface.
- Avoid Vibrations: Steer clear of unstable surfaces or high-traffic areas that could cause unwanted movement.
3. Choosing the Wrong Interval Settings
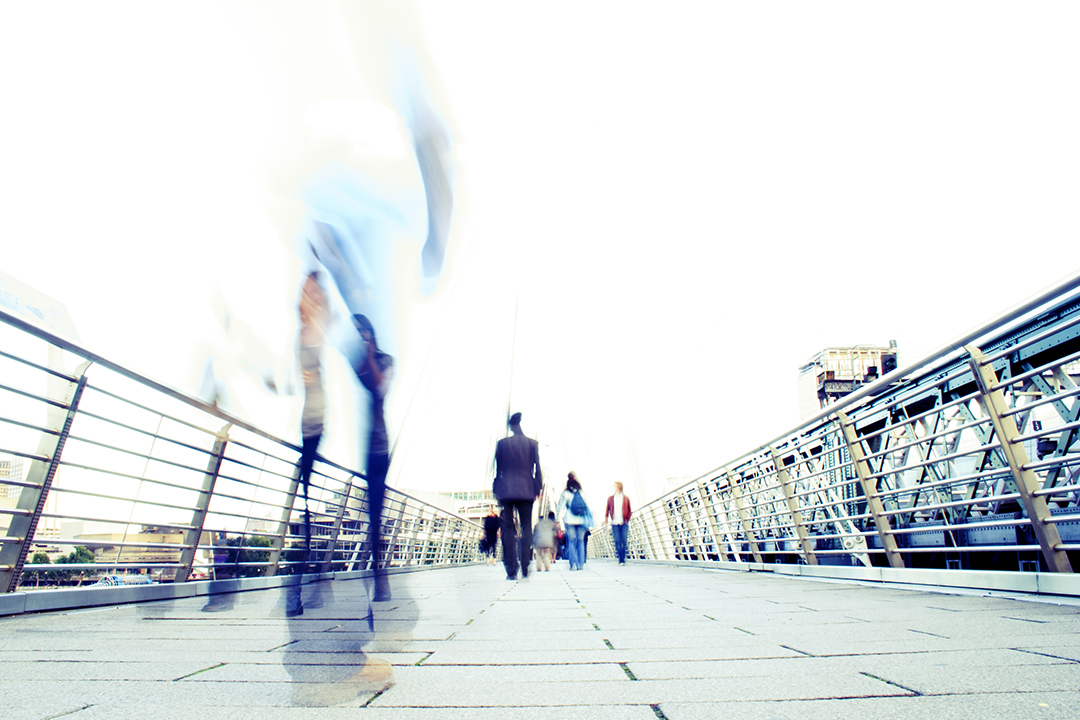
Selecting the wrong interval between shots can make your timelapse look choppy or unnaturally fast. The ideal interval depends on your subject and the effect you’re aiming for.
How to Fix It:
- Experiment with Intervals: Test different settings to find the best fit for your subject.
- Match Intervals to Subject Speed: Use longer intervals for slow-moving subjects (like clouds) and shorter intervals for fast-moving ones (like traffic).
- Use a Timelapse Calculator: Online tools like GoPro Calc can help you determine the optimal interval based on your desired video length.

4. Overlooking Exposure and Lighting Changes
Sudden shifts in lighting, especially during day-to-night or night-to-day transitions, can cause flickering or uneven exposure in your timelapse.
How to Fix It:
- Use Manual Settings: Lock your exposure settings in manual mode to prevent automatic adjustments.
- Shoot in Stable Lighting: Choose times with consistent lighting, such as midday or overcast conditions.
- Fix Flicker in Post-Processing: Use software like LRTimelapse or Adobe Premiere Pro to correct flickering issues.

5. Skipping Post-Processing
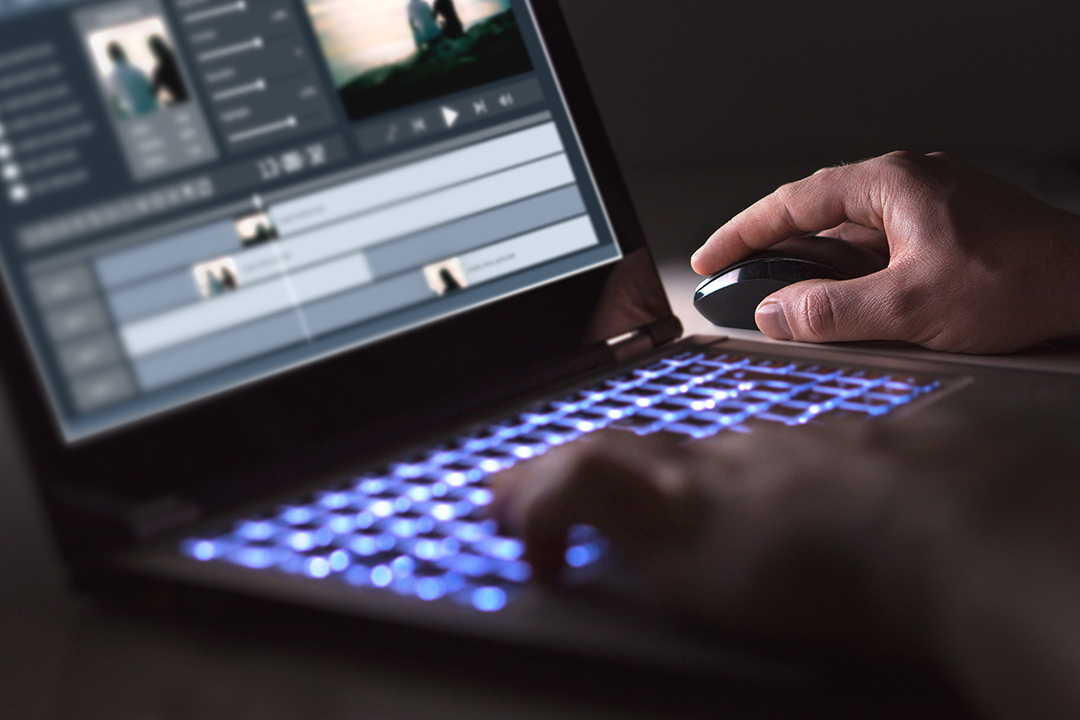
Many beginners underestimate the power of post-processing, but editing and color correction can take your timelapse to the next level.
How to Fix It:
- Learn Basic Editing: Get comfortable with tools like Adobe Premiere Pro, DaVinci Resolve, or other editing software.
- Adjust Colors and Exposure: Fine-tune brightness, contrast, and color balance for a polished look.
- Stabilize and Deflicker: Use post-processing tools to smooth out shaky footage and remove flicker.
- Experiment with Speed Ramping: Vary the speed of your timelapse to add dynamic effects.
By avoiding these common mistakes, you’ll be well on your way to creating captivating timelapses. Remember, practice makes perfect—so keep experimenting and refining your technique. Happy shooting!
